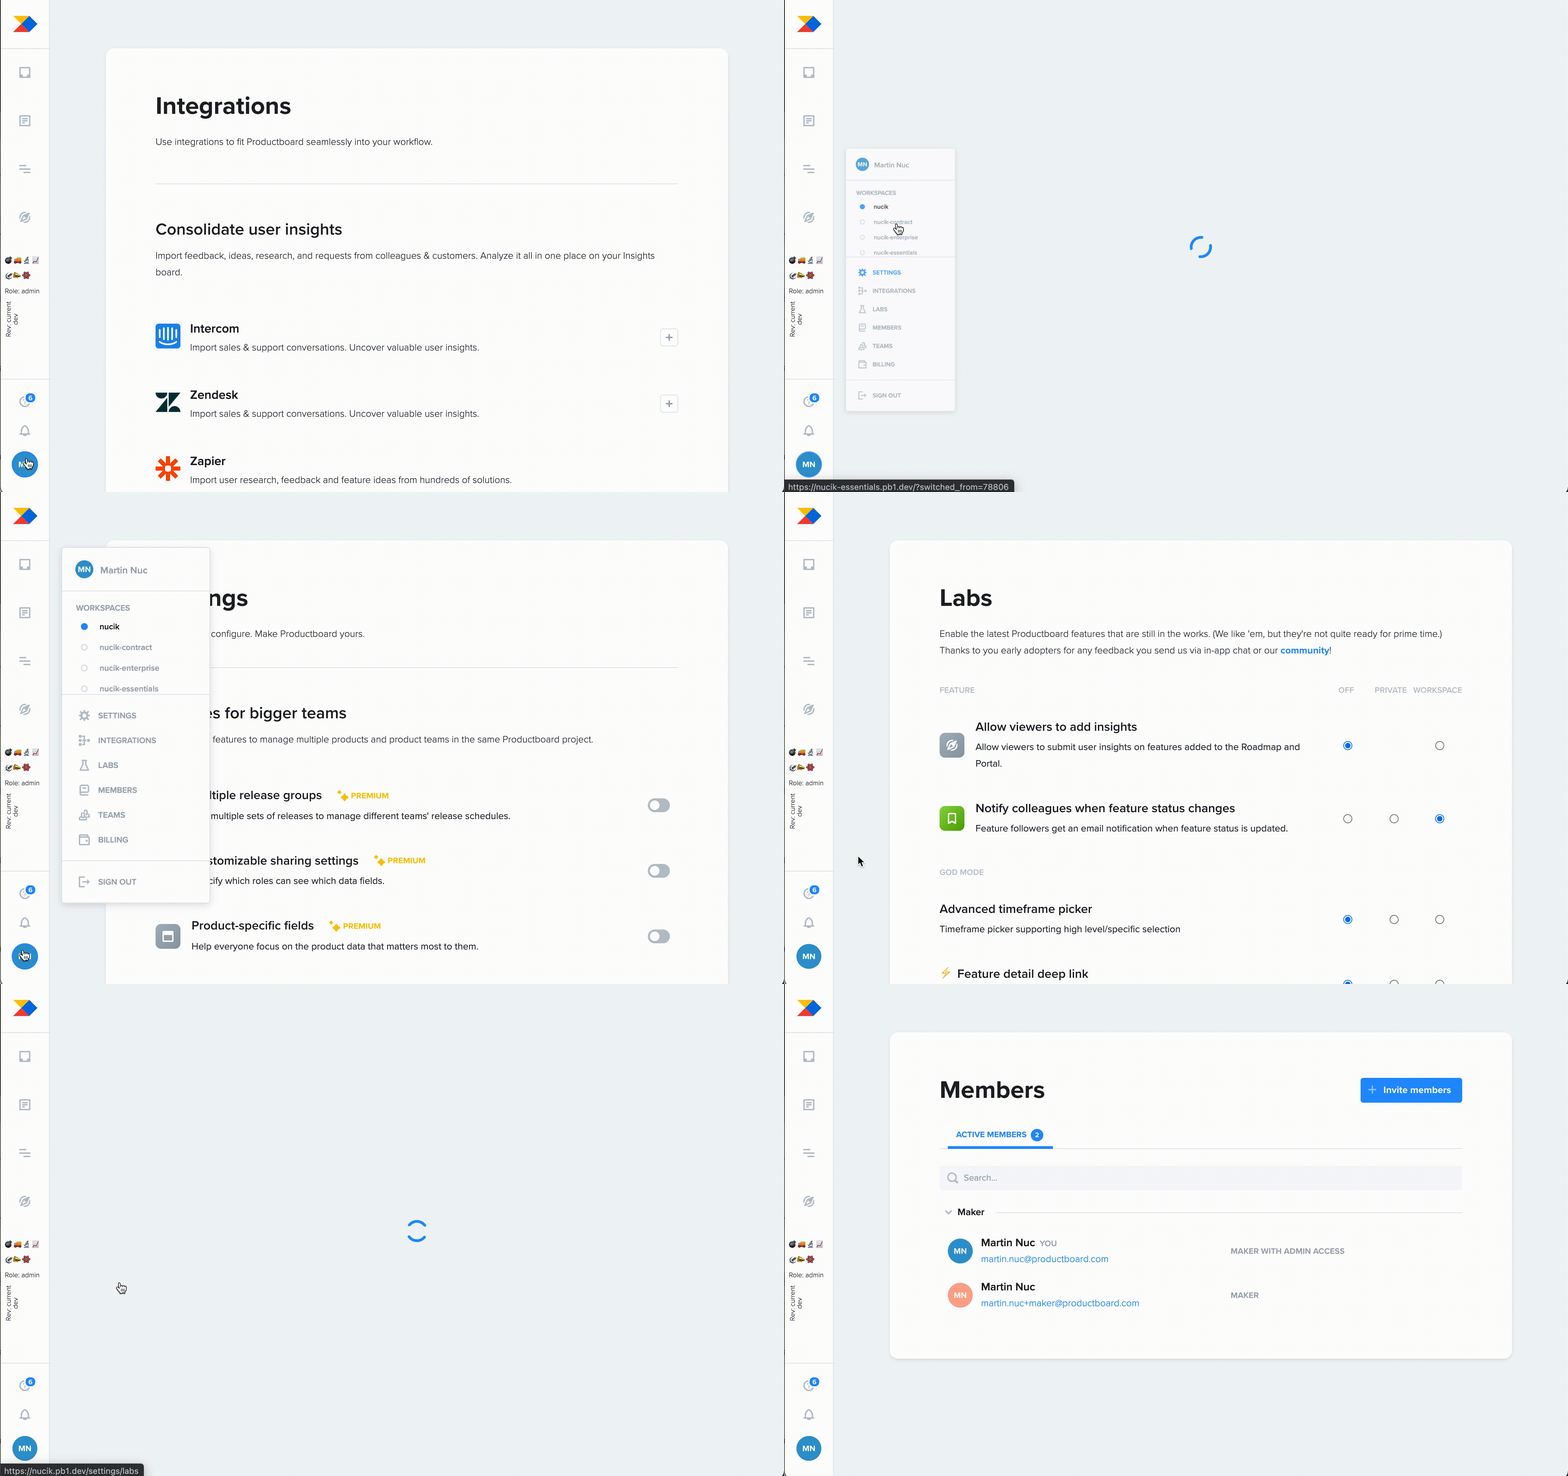
⚔️ Spinners versus skeletons in the battle of hasting
This article describes how to identify intermediate states while loading using React Suspense.
Every modern app needs to load data from a server. This may take a while, and making our users wait on a blank screen just won’t do.
Now comes the choice — loading spinner or loading skeleton.
Most of the time, a loading spinner might be the first thing you use, because it’s easy to implement and straightforward.
As the app grows, data fetching gets more and more complex. And in the end, you are left with thousands of spinners all over the place.

Showing more than one loading spinner gives the user too many places to look at once. The first solution which comes to mind might be unifying all these spinner under a single one. This works well when fetching doesn’t take too long.
When it takes longer, the better solution would be to render a loading skeleton. The advantage of a skeleton is that it resembles the final state of the UI after loading, giving the user an idea of where the information will be shown.

💤 Leveraging Suspense
First a disclaimer — Suspense API is still experimental and might change in the future.
At Productboard, we recently dealt with the slow initial load. We used the combination of Suspense and React.lazy to split the application into small chunks and lazily load different parts of the application on demand.
Suspense takes care of loading and allows us to show a loading spinner using the fallback prop:
<Suspense fallback={<LoadingSpinner}>
   <AsyncContent />
</Suspense>
This is how to show an intermediate state while loading but one question still stands — where do we use the loading spinner and where do we use the skeleton?
🌀 Where to use the spinner? And where to use the skeleton?
If you were hoping that using skeletons everywhere is the solution, unfortunately, that is not the case. Both options — the spinner and the skeleton — can be used. However, which one you decide to use depends on how long the content takes to load.
When the content loads fast, showing a skeleton for a very short period of time brings a user no value. Additionally, skeletons need to be specifically crafted for every use case, which means they take more effort than using a loading spinner.
In our app we noticed three cases:
- 🏎 certain parts of the application loaded so fast that the loading spinner just blinked through. In such cases, there was no point even showing the spinner at all.
- 🚙 other parts loaded reasonably fast making them ideal for just a loading spinner
- 🐢 larger pages took a longer time to load, making them great candidates for a skeleton
When the loading spinner just blinks through quickly, there is no point showing the spinner at all.

⏳Time-based rendering
To solve the first case we decided to implement DelayedComponent which would show the spinner only after a certain time had elapsed. Empirically, we set the threshold to 300ms:
- ⏱ less than 300ms ➡️ show nothing
- ⏱ more than 300ms ➡️ show spinner
export const DelayedComponent = ({children, delay}) => {
  const [shouldDisplay, setShouldDisplay] = useState(false);

  useEffect(() => {
    const timeoutReference = setTimeout(() => {
      setShouldDisplay(true);
    }, delay);    // remember to clean up on unmount
    return () => {
      clearTimeout(timeoutReference);
    };
  }, [delay, trackEvent]);  if (!shouldDisplay) {
    return null;
  }  return children;
}
Any component wrapped with DelayedComponent will be rendered after specific delay:
<Suspense fallback={
  <DelayedComponent delay={300}>
    <LoadingSpinner />
  </DelayedComponent>
}>
  {children}
</Suspense>
Interestingly, we discovered that Suspense rendered fallback every time, whether the content was already loaded or not (for example, when we preloaded data). When we already had data, there was no need to render anything. DelayedComponent helped with this, too.
Suspense fallback is rendered every time!
☠️ Spinners done, where to use skeletons?
We had no idea where loading spinners were displayed for too long. Some pages were slow to load, but we didn’t know which. We used DelayedComponent to measure how long each page is loading based on how long the spinner was mounted:
const calculateElapsedTime = (startTime) => {
  const endTime = performance.now();
  return endTime - startTime;
};export const DelayedComponent = ({
  children,
  componentName,
  delay,
}) => {
  const [shouldDisplay, setShouldDisplay] = useState(false);
  useEffect(() => {
    const startTime = performance.now();    // mounted
    trackEvent({
      componentName,
      eventName: 'Start',
    });    const spinnerTimeoutReference = setTimeout(() => {
      // spinner shown
      trackEvent({
        componentName,
        eventName: 'Spinner',
        elapsedTime: calculateElapsedTime(startTime),
      });
      setShouldDisplay(true);
    }, delay);    return () => {
      clearTimeout(spinnerTimeoutReference);
      // unmount
      trackEvent({
        componentName,
        eventName: 'Finish',
        elapsedTime: calculateElapsedTime(startTime),
      });
    };
  }, [delay, trackEvent]);  if (!shouldDisplay) {
    return null;
  }  return children;
};
We were collecting data into Honeycomb. Based on the “Finish” event, we were able to find out which parts of the app took longer to load and deserved a skeleton.

We decided to implement loading skeletons for pages that took more than 1.5s to load and render. This threshold may differ for your use case.
🙌 Final thoughts
After covering all three loading cases, we believed we reached the optimal user experience. There is a place for both loading spinners and skeletons, but it’s important to know when to use each.
Skeletons require both design and development effort and should be considered carefully. However, sometimes it’s not worth displaying anything at all. It always helps when you can base your decision on concrete data from metrics.
Interested in joining our growing team? Well, we’re hiring across the board! Check out our careers page for the latest vacancies.


